
Data insertion is a common part of a web application. When we want to insert data then we need an HTML form. So in this tutorial, we will see how to create an HTML form in the Laravel application and how to submit form in Laravel 9. I will create a user registration form so that we can insert user data.
So from this tutorial, you will learn laravel 9 form submit example. If you are new to laravel 9 forms, then this laravel form submit example tutorial is for you. So let's start laravel 9 form example tutorial.
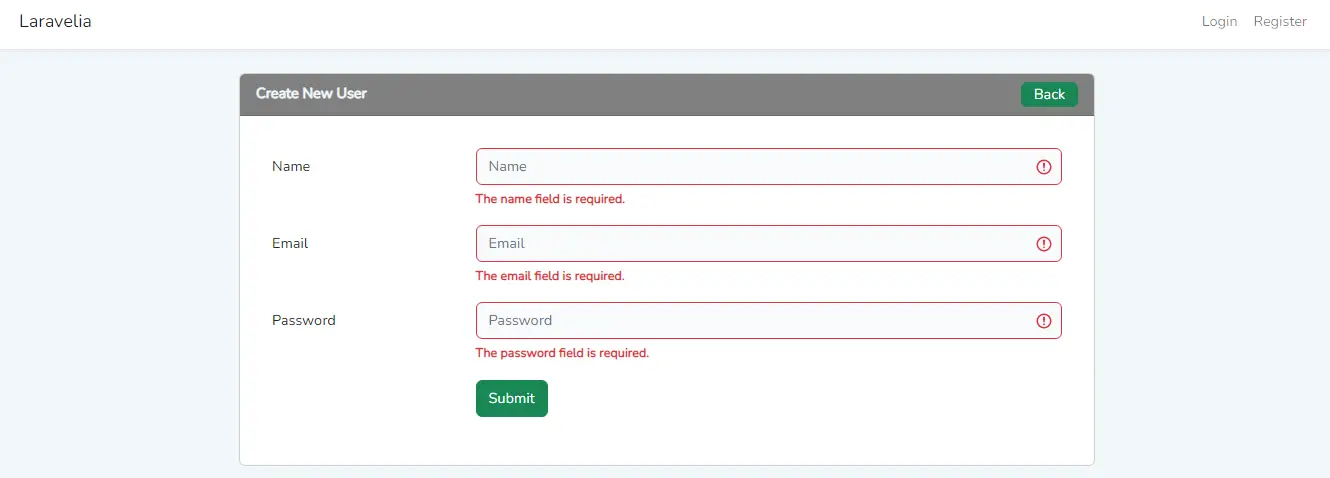
To see the preview image of this tutorial, see the below image:
Step 1: Download Fresh Laravel
In this first step, we need a fresh Laravel 9 application. So download it by the below command:
composer create-project laravel/laravel example-app
Step 2: Create Route
Now in this, create a route like the one below to complete the laravel 9 form submit.
routes/web.php
<?php

use Illuminate\Support\Facades\Route;
use App\Http\Controllers\UserController;

Route::get('user/create', [UserController::class, 'create'])->name('user.create');
Route::post('user/create', [UserController::class, 'store'])->name('user.store');
Read also: Laravel 9 CRUD Tutorial Example Using Eloquent ORM
Step 3: Create Controller
Now in this step, we have to create a 'UserController' to complete how to submit form in laravel 9. So create a controller by the below command:
php artisan make:controller UserController
Now update the controller like the below:
app/Http/Controllers/UserCountroller.php
<?php

namespace App\Http\Controllers;

use App\Models\User;
use Illuminate\Http\Request;

class UserController extends Controller
{

    public function create()
    {
        return view('user.create');
    }

    public function store(Request $request)
    {
        $request->validate([
            'name' => 'required',
            'email' => 'required|email|unique:users',
            'password' => 'required|min:6',
        ]);

        $user = new User;
        $user->name = $request->input('name');
        $user->email = trim($request->input('email'));
        $user->password = bcrypt($request->input('password'));
        $user->image = $fileName;
        $user->save();

        return redirect()->back()->with([
            'message' => 'User added successfully!',
            'status' => 'success'
        ]);
    }
}
Step 4: Create Views
In this step, we have to create our views for HTML form to create users. So let's create the form.
resources/views/user/create.blade.php
@extends('layouts.app')

@push('style')
@section('content')
<div class="container">
    <div class="row justify-content-center">
        <div class="col-md-8">
            <div class="card">
                <div class="card-header" style="background: gray; color:#f1f7fa; font-weight:bold;">
                    Create New User
                    <a href="" class="btn btn-success btn-xs py-0 float-end">Back</a>
                </div>
                @if(session('message'))
                    <div class="alert alert-{{ session('status') }} alert-dismissible fade show mt-3" role="alert">
                        <strong>{{ session('message') }}</strong>
                        <button type="button" class="btn-close" data-bs-dismiss="alert" aria-label="Close"></button>
                    </div>
                @endif
                 <div class="card-body">
                    <form class="w-px-500 p-3 p-md-3" action="{{ route('user.store') }}" method="post" enctype="multipart/form-data">
                        @csrf
                        <div class="row mb-3">
                            <label class="col-sm-3 col-form-label">Name</label>
                            <div class="col-sm-9">
                                <input type="text" class="form-control @error('name') is-invalid @enderror" name="name" placeholder="Name">
                                @error('name')
                                    <span class="invalid-feedback" role="alert">
                                        <strong>{{ $message }}</strong>
                                    </span>
                                @enderror
                            </div>
                        </div>

                        <div class="row mb-3">
                            <label class="col-sm-3 col-form-label">Email</label>
                            <div class="col-sm-9">
                                <input type="email" class="form-control @error('email') is-invalid @enderror" name="email" placeholder="Email">
                                @error('email')
                                    <span class="invalid-feedback" role="alert">
                                        <strong>{{ $message }}</strong>
                                    </span>
                                @enderror
                            </div>
                        </div>

                        <div class="row mb-3">
                            <label class="col-sm-3 col-form-label">Password</label>
                            <div class="col-sm-9">
                                <input type="password" class="form-control @error('password') is-invalid @enderror" name="password" placeholder="Password">
                                @error('password')
                                    <span class="invalid-feedback" role="alert">
                                        <strong>{{ $message }}</strong>
                                    </span>
                                @enderror
                            </div>
                        </div>

                        <div class="row mb-3">
                            <label class="col-sm-3 col-form-label"></label>
                            <div class="col-sm-9">
                                <button type="submit" class="btn btn-success btn-block text-white">Submit</button>
                            </div>
                        </div>
                      </form>
                </div>
            </div>
        </div>
    </div>
</div>
@endsection
Remember, if you want to submit a form, you have to add @csrf blade directive every time in your every form.
Read also: Laravel 9 CRUD Tutorial Using Query Builder
Now all are set to go. Now run php artisan serve command to start the development server and visit the following url to check this laravel 9 form submit example.
VISIT
Conclusion
Hope this laravel 9 form submit example tutorial will help you to submit a HTML form in laravel 9 application. After completing this laravel 9 forms tutorial, you will be able to laravel submit form from controller. Hope this laravel form submit tutorial will clarify your concept about how to submit form in laravel 9.