
Laravel provides a default email verification system in their auth system. We can use it to create an email verification system before registration confirmation. Using MustVerifyEmail contacts, we can create this email verification system in laravel.
But in this example, I will create a laravel 9 custom email verification template. So you will learn laravel custom email verification from this tutorial with step by step guidance. So let's see laravel manually verify email tutorial.
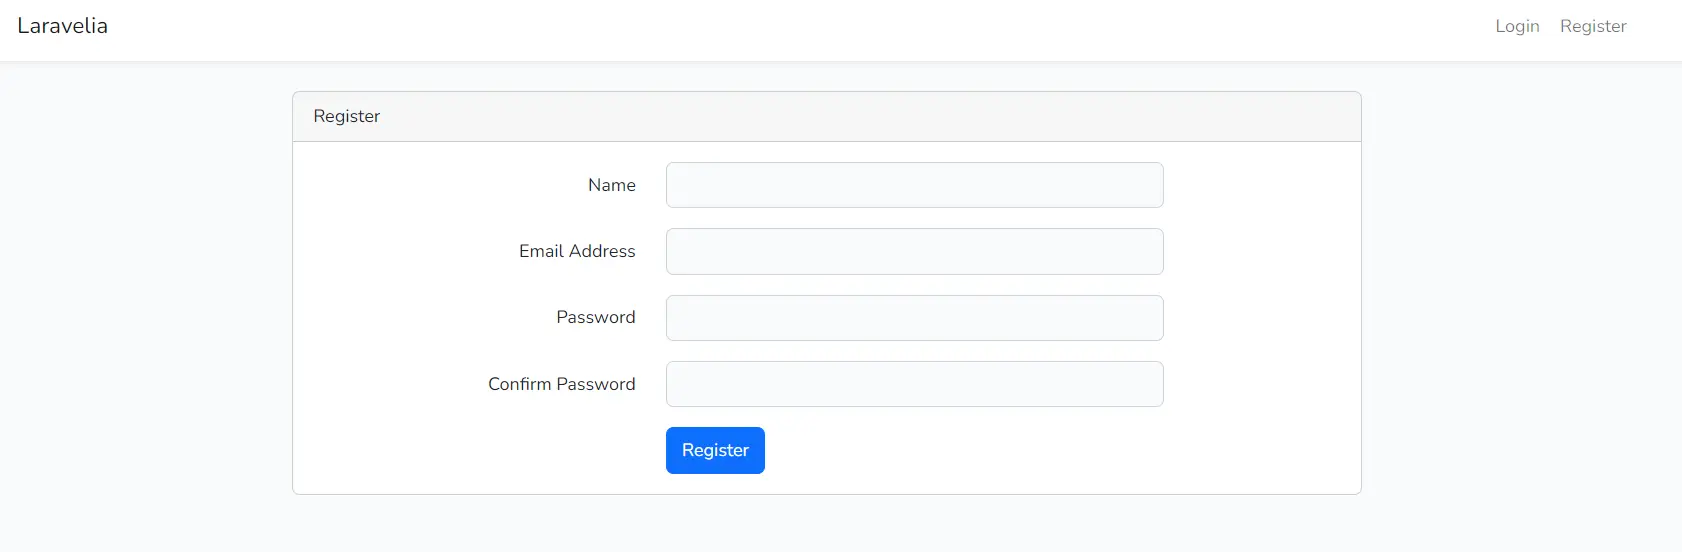
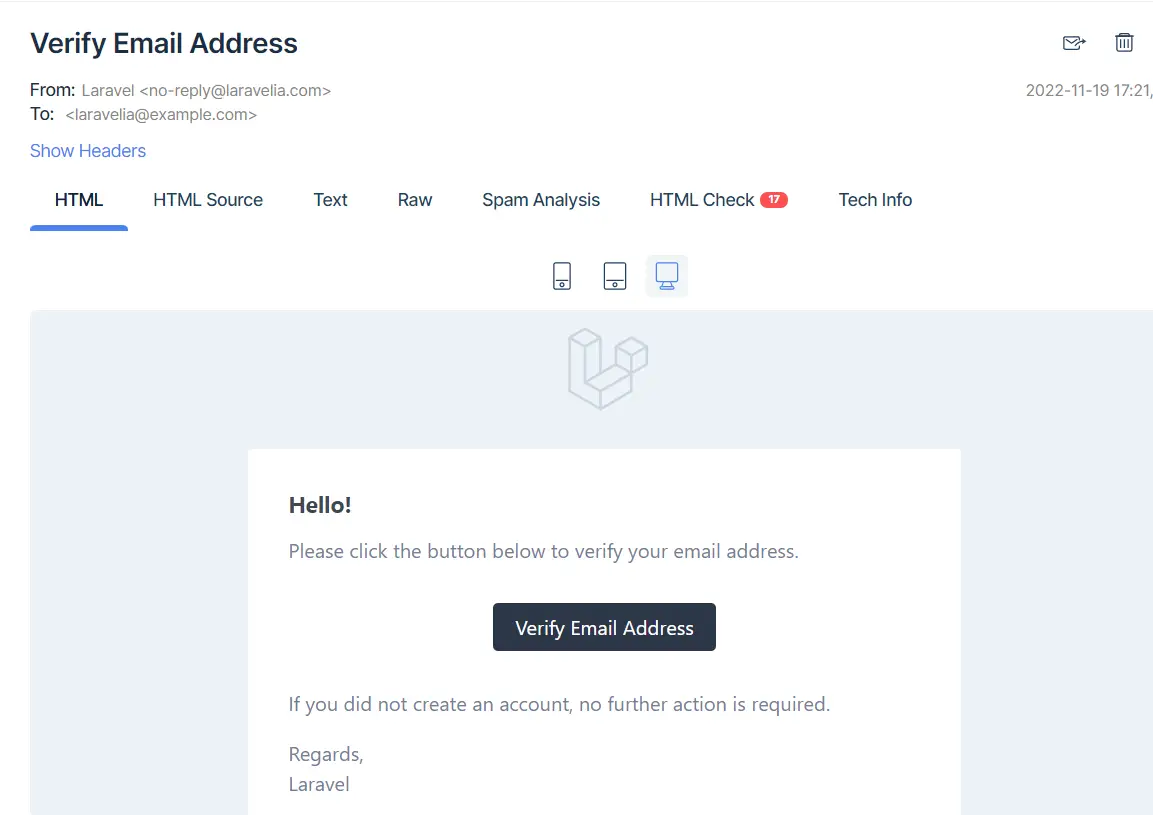
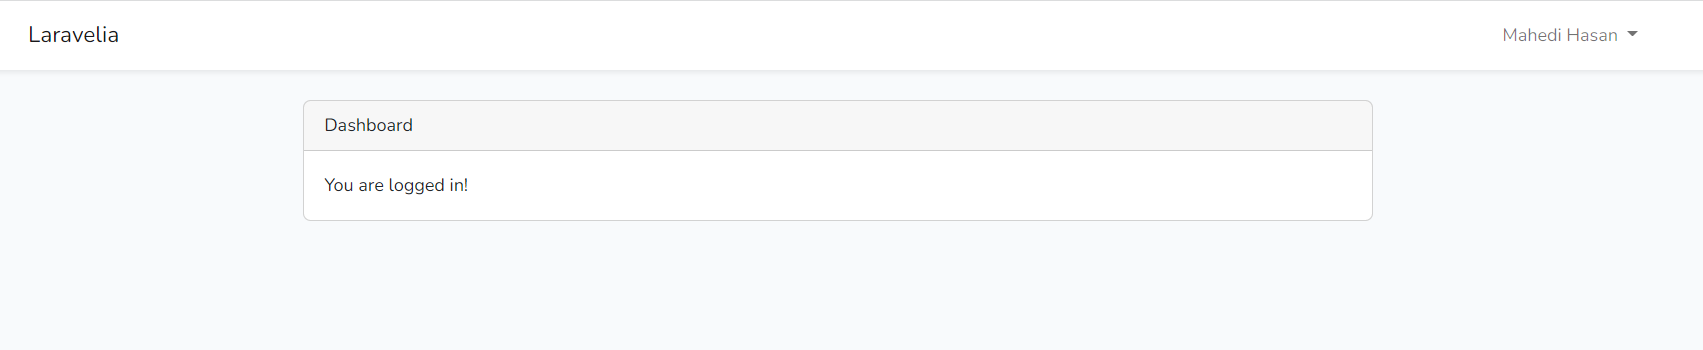
See the preview from the below images:
Register page
Email verification notify page

Email template with activation code
Dashboard page
Step 1: Install Laravel
First of all, we need to get a fresh Laravel 9 version application using the bellow command, So open your terminal OR command prompt and run the bellow command to start Laravel 9 activate the account after email verification example
composer create-project laravel/laravel example-app
Read also: Laravel 9 Multi Auth Without User Model Using Guard
Step 2: Connect Database
We need registration, so need database table to save user data. We will open the ".env" file and change the database name, username and password in the env file and create how to verify email in laravel.
.env
DB_CONNECTION=mysql
DB_HOST=127.0.0.1
DB_PORT=3306
DB_DATABASE=Enter_Your_Database_Name
DB_USERNAME=Enter_Your_Database_Username
DB_PASSWORD=Enter_Your_Database_Password
Step 3: Setup route
Now in this step, we have to create our route for creating Laravel email verification using a custom activation link. Let's create our route.
routes/web.php
<?php

use App\Http\Controllers\Auth\LoginController;
use App\Http\Controllers\Auth\RegisterController;
use App\Http\Controllers\VerifyController;
use Illuminate\Support\Facades\Route;

/*
|--------------------------------------------------------------------------
| Web Routes
|--------------------------------------------------------------------------
|
| Here is where you can register web routes for your application. These
| routes are loaded by the RouteServiceProvider within a group which
| contains the "web" middleware group. Now create something great!
|
*/

Route::get('/user-register', [RegisterController::class,'ShowRegisterForm'])->name('register');
Route::get('/user-register', [RegisterController::class,'HandleRegister']);
Route::get('/user-login', [LoginController::class,'ShowLoginForm'])->name('login');
Route::get('/user-login', [LoginController::class,'HandleLogin']);
Route::get('/verify/{token}', [VerifyController::class,'VerifyEmail'])->name('verify');
Step 4: Create Controller
Now in this step, we need to create our login controller and method which are defined in the doctor.php route. So let's create that method.
App\Http\Controllers\Auth\RegisterController.php
<?php

namespace App\Http\Controllers\Auth;

use App\Http\Controllers\Controller;
use App\Mail\VerificationEmail;
use App\Models\User;
use App\Validation\RegisterRequest;
use Illuminate\Http\Request;
use Illuminate\Support\Facades\Validator;
use Illuminate\Support\Str;

class RegisterController extends Controller
{

    public function ShowRegisterForm()
    {
    	return view('authentication.register');
    }

    public function HandleRegister(Request $request)
    {
        $user = User::create([
            'name' => trim($request->input('name')),
            'email' => strtolower($request->input('email')),
            'password' => bcrypt($request->input('password')),
            'email_verification_token' => Str::random(32)
        ]);

        \Mail::to($user->email)->send(new VerificationEmail($user));

        session()->flash('message', 'Please check your email to activate your account');

        return redirect()->back();

    }
}
And now update the login controller:
App\Http\Controllers\Auth\LoginController.php
<?php

namespace App\Http\Controllers\Auth;

use App\Http\Controllers\Controller;
use App\Models\User;
use Carbon\Carbon;
use Illuminate\Http\Request;

class LoginController extends Controller
{
     public function ShowLoginForm()
    {
    	return view('authentication.login');
    }

    public function HandleLogin(Request $request)
    {

        $credentials = $request->except(['_token']);

        if (auth()->attempt($credentials))
        {
          return redirect()->route('home');
        }

        session()->flash('message', 'Invalid Credentials');

        session()->flash('type', 'danger');

        return redirect()->back();
    }
}
Now update the verify token controller:
app\Http\Controllers\VerifyController.php
<?php

namespace App\Http\Controllers;

use App\Http\Controllers\Controller;
use App\User;
use Carbon\Carbon;
use Illuminate\Http\Request;

class VerifyController extends Controller
{
    public function VerifyEmail($token = null)
    {
    	if($token == null) {
    		session()->flash('message', 'Invalid Login attempt');
    		return redirect()->route('login');

    	}

       $user = User::where('email_verification_token',$token)->first();
       if($user == null )
       {
       	  session()->flash('message', 'Invalid Login attempt');
          return redirect()->route('login');
       }

       $user->update([
          'email_verified' => 1,
          'email_verified_at' => Carbon::now(),
          'email_verification_token' => ''

       ]);

       session()->flash('message', 'Your account is activated, you can log in now');
       return redirect()->route('login');
    }
}
Step 6: Create Mail
Now we have to create our mail for sending our token to the user. So run the below command to create a mail
php artisan make:mail VerificationEmail
Step 6: Setup VerificationEmail
Now update the verification mail with the below code:
app\Mail\VerificationEmail.php
<?php

namespace App\Mail;

use Illuminate\Bus\Queueable;
use Illuminate\Contracts\Queue\ShouldQueue;
use Illuminate\Mail\Mailable;
use Illuminate\Queue\SerializesModels;

class VerificationEmail extends Mailable
{
    use Queueable, SerializesModels;

    public $user;

    public function __construct($user)
    {
        $this->user = $user;
    }

    public function build()
    {
        return $this->view('verifyEmail');
    }
}
Step 7: Create Email Blade File
Now we have to create a verifyEmail.blade.php file. So create it and update it with the below code:
resourses\views\verifyEmail.blade.php
<!DOCTYPE html>
<html lang="en">
    <body>
        <p>Dear {{ $user->name }}</p>
            <p>Your account has been created, please activate your account by clicking this link</p>
            <p>
                <a href="{{ route('verify',$user->email_verification_token) }}">
                {{ route('verify',$user->email_verification_token) }}
                </a>
            </p>
        <p>Thanks</p>
    </body>
</html>
Now everything is ok. So now just we have to create our Login and Register blade template.
resourses\views\authentication\register.blade.php
<div class="card-header">{{ __('Register') }}</div>

@if ($errors->any())
      <div class="alert alert-success">
        <ul>
            @foreach ($errors->all() as $error)
                <li>{{ $error }}</li>
            @endforeach
        </ul>
      </div>
@endif
@if(session()->has('message'))
      <div class="alert alert-success">
          <li>{{ session('message') }}</li>
      </div>
@endif
<div class="card-body">
    <form method="POST" action="{{ route('register') }}">

        @csrf

        <div class="form-group row">
            <label for="name" class="col-md-4 col-form-label text-md-right">{{ __('Name') }}</label>

            <div class="col-md-6">
                <input id="name" type="text" class="form-control @error('name') is-invalid @enderror" name="name" value="{{ old('name') }}" required autocomplete="name" autofocus>

                @error('name')
                    <span class="invalid-feedback" role="alert">
                        <strong>{{ $message }}</strong>
                    </span>
                @enderror
            </div>
        </div>

        <div class="form-group row">
            <label for="email" class="col-md-4 col-form-label text-md-right">{{ __('E-Mail Address') }}</label>

            <div class="col-md-6">
                <input id="email" type="email" class="form-control @error('email') is-invalid @enderror" name="email" value="{{ old('email') }}" required autocomplete="email">

                @error('email')
                    <span class="invalid-feedback" role="alert">
                        <strong>{{ $message }}</strong>
                    </span>
                @enderror
            </div>
        </div>

        <div class="form-group row">
            <label for="password" class="col-md-4 col-form-label text-md-right">{{ __('Password') }}</label>

            <div class="col-md-6">
                <input id="password" type="password" class="form-control @error('password') is-invalid @enderror" name="password" required autocomplete="new-password">

                @error('password')
                    <span class="invalid-feedback" role="alert">
                        <strong>{{ $message }}</strong>
                    </span>
                @enderror
            </div>
        </div>

        <div class="form-group row">
            <label for="password-confirm" class="col-md-4 col-form-label text-md-right">{{ __('Confirm Password') }}</label>

            <div class="col-md-6">
                <input id="password-confirm" type="password" class="form-control" name="password_confirmation" required autocomplete="new-password">
            </div>
        </div>

        <div class="form-group row mb-0">
            <div class="col-md-6 offset-md-4">
                <button type="submit" class="btn btn-primary">
                    {{ __('Register') }}
                </button>
            </div>
        </div>
    </form>
</div>
Update the login page like this:
resourses\views\authentication\login.blade.php
<div class="card-header">{{ __('Login') }}</div>

@if ($errors->any())
    <div class="alert alert-danger">
        <ul>
            @foreach ($errors->all() as $error)
                <li>{{ $error }}</li>
            @endforeach
        </ul>
    </div>
@endif

<div class="card-body">
    <form method="POST" action="{{ route('login') }}">
        @csrf

        <div class="form-group row">
            <label for="email" class="col-md-4 col-form-label text-md-right">{{ __('E-Mail Address') }}</label>

            <div class="col-md-6">
                <input id="email" type="email" class="form-control @error('email') is-invalid @enderror" name="email" value="{{ old('email') }}" required autocomplete="email">

                @error('email')
                    <span class="invalid-feedback" role="alert">
                        <strong>{{ $message }}</strong>
                    </span>
                @enderror
            </div>
        </div>

        <div class="form-group row">
            <label for="password" class="col-md-4 col-form-label text-md-right">{{ __('Password') }}</label>

            <div class="col-md-6">
                <input id="password" type="password" class="form-control @error('password') is-invalid @enderror" name="password" required autocomplete="new-password">

                @error('password')
                    <span class="invalid-feedback" role="alert">
                        <strong>{{ $message }}</strong>
                    </span>
                @enderror
            </div>
        </div>

        <div class="form-group row mb-0">
            <div class="col-md-6 offset-md-4">
                <button type="submit" class="btn btn-primary">
                    {{ __('Login') }}
                </button>
            </div>
        </div>
    </form>
</div>
Now all are set to go to check custom email verification tutorial. So now you can test your app to check email verification before login. Hope it will help you.
Now you can test our application by visiting the below URL:
URL
Read also: Laravel 9 Firebase Phone Number (OTP) Authentication Tutorial
Conclusion
Now we know email verification laravel 9 implementation. Hope this laravel 9 email verification tutorial will help you to create laravel custom email verification with activation code.