
There are many options to handle how to upload big CSV files in the Laravel application. You can upload using an array chunk or you can upload using a queue or you can upload normally. But uploading a large CSV file on a server without an array chunk or without using a queue is not a good practice. Cause uploading an image and uploading CSV data are not the same thing. You have to handle it without breaking your system or breaking your data. So it is always good to use a queue or chunk to upload big data CSV files in the Laravel application.
So in this tutorial, I will show you, how to upload big data CSV files or large CSV files in Laravel using array chunks. In the next tutorial, we will see the queue process. So from this example, I will use a sales table and I will insert 50 thousand CSV data into the sales table using an array chunk in Laravel.
I will use Laravel 10 version to create this demo application that Laravel 10 array chunk CSV file upload. Though this code will work on all Laravel versions after 5. Now let's see the example of how to import a large CSV file using an array chunk in Laravel 10.
Step 1: Download Fresh Laravel
In this first step, we need a fresh Laravel 10 application for the laravel chunk upload csv file. So download it by the below command:
composer create-project laravel/laravel example-app
Step 2: Create Model
We are going to use the Sale model. Now create a sale model and update it like below:
php artisan make:model Sale -m
And now update the model like:
app/Models/Sale.php
<?php

namespace App\Models;

use Illuminate\Database\Eloquent\Factories\HasFactory;
use Illuminate\Database\Eloquent\Model;

class Sale extends Model
{
    use HasFactory;

    protected $fillable = [
        'Region',
        'Country',
        'Item Type',
        'Sales Channel',
        'Order Priority',
        'Order Date',
        'Order ID',
        'Ship Date',
        'Units Sold',
        'Unit Price',
        'Unit Cost',
        'Total Revenue',
        'Total Cost',
        'Total Profit'
    ];
}
Now update the migrations like:
database/migrations
<?php

use Illuminate\Database\Migrations\Migration;
use Illuminate\Database\Schema\Blueprint;
use Illuminate\Support\Facades\Schema;

return new class extends Migration
{
    /**
     * Run the migrations.
     *
     * @return void
     */
    public function up()
    {
        Schema::create('sales', function (Blueprint $table) {
            $table->id();
            $table->string('Region');
            $table->string('Country');
            $table->string('Item Type');
            $table->string('Sales Channel');
            $table->string('Order Priority');
            $table->string('Order Date');
            $table->string('Order ID');
            $table->string('Ship Date');
            $table->string('Units Sold');
            $table->string('Unit Price');
            $table->string('Unit Cost');
            $table->string('Total Revenue');
            $table->string('Total Cost');
            $table->string('Total Profit');
            $table->timestamps();
        });
    }

    /**
     * Reverse the migrations.
     *
     * @return void
     */
    public function down()
    {
        Schema::dropIfExists('sales');
    }
};
Step 3: Connect database
After successfully installing the laravel app and then configuring the database setup like below to create this laravel split csv into multiple files and then upload
.env
DB_CONNECTION=mysql
DB_HOST=127.0.0.1
DB_PORT=3306
DB_DATABASE=Enter_Your_Database_Name
DB_USERNAME=Enter_Your_Database_Username
DB_PASSWORD=Enter_Your_Database_Password
Now run php artisan migrate command to update the database.
php artisan migrate
Read also: Laravel 10 Image Intervention - Resize Image Before Upload
Step 4: Create Route
Now in this step, we have to create a route to create laravel import large csv file.
routes/web.php
<?php

use Illuminate\Support\Facades\Route;
use App\Http\Controllers\TutorialController;

Route::get('/', [TutorialController::class,'index']);
Route::post('/', [TutorialController::class,'store'])->name('store');
Step 5: Create Controller
Now in this step, we have to create a TutorialController to define this method to create csv file importer using array chunk method implementation.
php artisan make:controller TutorialController
Now update the controller like the below:
app/Http/Controllers/TutorialController.php
<?php
namespace App\Http\Controllers;
use App\Models\Sale;
use Illuminate\Http\Request;
class TutorialController extends Controller
{
public function index()
{
return view('welcome');
}
public function store(Request $request)
{
if ($request->has('csv')) {
$csv = file($request->csv);
$chunks = array_chunk($csv, 1000);
$path = resource_path('temp');
foreach ($chunks as $key => $chunk) {
$name = "/tmp{$key}.csv";
file_put_contents($path . $name, $chunk);
}
$files = glob("$path/*.csv");
$header = [];
foreach ($files as $key => $file) {
$data = array_map('str_getcsv', file($file));
if ($key == 0) {
$header = $data[0];
unset($data[0]);
}
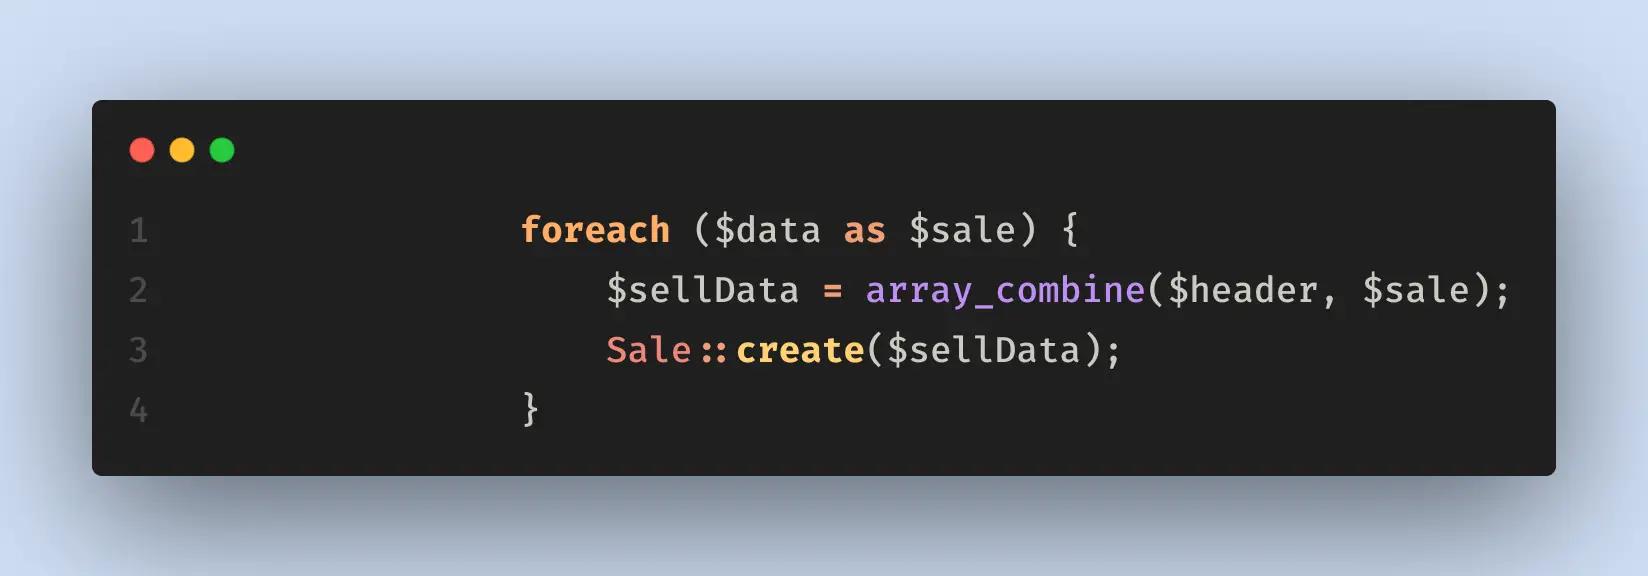
foreach ($data as $sale) {
$sellData = array_combine($header, $sale);
Sale::create($sellData);
}
unlink($file);
}
return "stored";
}
return "please upload csv file";
}
}
Step 6: Create Views
In this step, we will create a form for Laravel chunk large csv file upload. So update the welcome file like below:
resources/views/welcome.blade.php
@extends('layouts.app')
@section('content')
<div class="container">
    <div class="row justify-content-center">
        <div class="col-md-6">
            <div class="card">
                <div class="card-header" style="background: gray; color:#f1f7fa; font-weight:bold;">
                    Laravel 10 CSV CHunk Importer- Laravelia
                </div>
                 <div class="card-body">
                    <form class="w-px-500 p-3 p-md-3" action="{{ route('store') }}" method="post" enctype="multipart/form-data">
                        @csrf
                        <div class="row mb-3">
                            <label class="col-sm-3 col-form-label">CSV</label>
                            <div class="col-sm-9">
                              <input type="file" class="form-control" name="csv">
                            </div>
                        </div>
                        <div class="row mb-3">
                            <label class="col-sm-3 col-form-label"></label>
                            <div class="col-sm-9">
                                <button type="submit" class="btn btn-success btn-block">Submit</button>
                            </div>
                        </div>
                    </form>
                </div>
            </div>
        </div>
    </div>
</div>
@endsection
Now we need to create a master file. So create a app.blade.php file and add it to the following path:
resources/views/layouts/app.blade.php
<!doctype html>
<html lang="{{ str_replace('_', '-', app()->getLocale()) }}">
<head>
    <meta charset="utf-8">
    <meta name="viewport" content="width=device-width, initial-scale=1">

    <!-- CSRF Token -->
    <meta name="csrf-token" content="{{ csrf_token() }}">

    <title>{{ config('app.name', 'Laravel') }}</title>

    <!-- Tailwindcss -->
    <script src="https://cdn.tailwindcss.com"></script>

    <!-- Scripts -->
    @vite(['resources/sass/app.scss', 'resources/js/app.js'])
    @stack('style')
</head>
<body>
    <div id="app">
        <nav class="navbar navbar-expand-md navbar-light bg-white shadow-sm">
            <div class="container">
                <a class="navbar-brand" href="{{ url('/') }}">
                    Laravelia
                </a>
                <button class="navbar-toggler" type="button" data-bs-toggle="collapse" data-bs-target="#navbarSupportedContent" aria-controls="navbarSupportedContent" aria-expanded="false" aria-label="{{ __('Toggle navigation') }}">
                    <span class="navbar-toggler-icon"></span>
                </button>

                <div class="collapse navbar-collapse" id="navbarSupportedContent">
                    <!-- Left Side Of Navbar -->
                    <ul class="navbar-nav me-auto">

                    </ul>

                    <!-- Right Side Of Navbar -->
                    <ul class="navbar-nav ms-auto">
                        <!-- Authentication Links -->
                        @guest
                            @if (Route::has('login'))
                                <li class="nav-item">
                                    <a class="nav-link" href="{{ route('login') }}">{{ __('Login') }}</a>
                                </li>
                            @endif

                            @if (Route::has('register'))
                                <li class="nav-item">
                                    <a class="nav-link" href="{{ route('register') }}">{{ __('Register') }}</a>
                                </li>
                            @endif
                        @else
                            <li class="nav-item dropdown">
                                <a id="navbarDropdown" class="nav-link dropdown-toggle" href="#" role="button" data-bs-toggle="dropdown" aria-haspopup="true" aria-expanded="false" v-pre>
                                    {{ Auth::user()->name }}
                                </a>

                                <div class="dropdown-menu dropdown-menu-end" aria-labelledby="navbarDropdown">
                                    <a class="dropdown-item" href="{{ route('logout') }}"
                                       onclick="event.preventDefault();
                                                     document.getElementById('logout-form').submit();">
                                        {{ __('Logout') }}
                                    </a>

                                    <form id="logout-form" action="{{ route('logout') }}" method="POST" class="d-none">
                                        @csrf
                                    </form>
                                </div>
                            </li>
                        @endguest
                    </ul>
                </div>
            </div>
        </nav>

        <main class="py-4" style="background: #f1f7fa;">
            @yield('content')
        </main>
    </div>
    @stack('script')
</body>
</html>
Conclusion
Now we know how to Upload CSV data as chunks in Laravel. Hope we can use Laravel chunk large csv file upload. Hope this laravel 10 array chunk csv file upload tutorial will clarify your concept about laravel import large csv file.