
We can easily create our own custom email verification system. But we also know that from the version of Laravel 6, Larave provides auth with email verification. So in this laravel 9 version, we will see how we can enable the email verification system and configure all of the parts so that we can send an activation code with email for account activation.
So this laravel auth with email verification tutorial, we are going to create email verification laravel 9 but this is gonna be default auth verification system not custom email verification in laravel. So let's see the example of laravel 9 email verification with activation code.
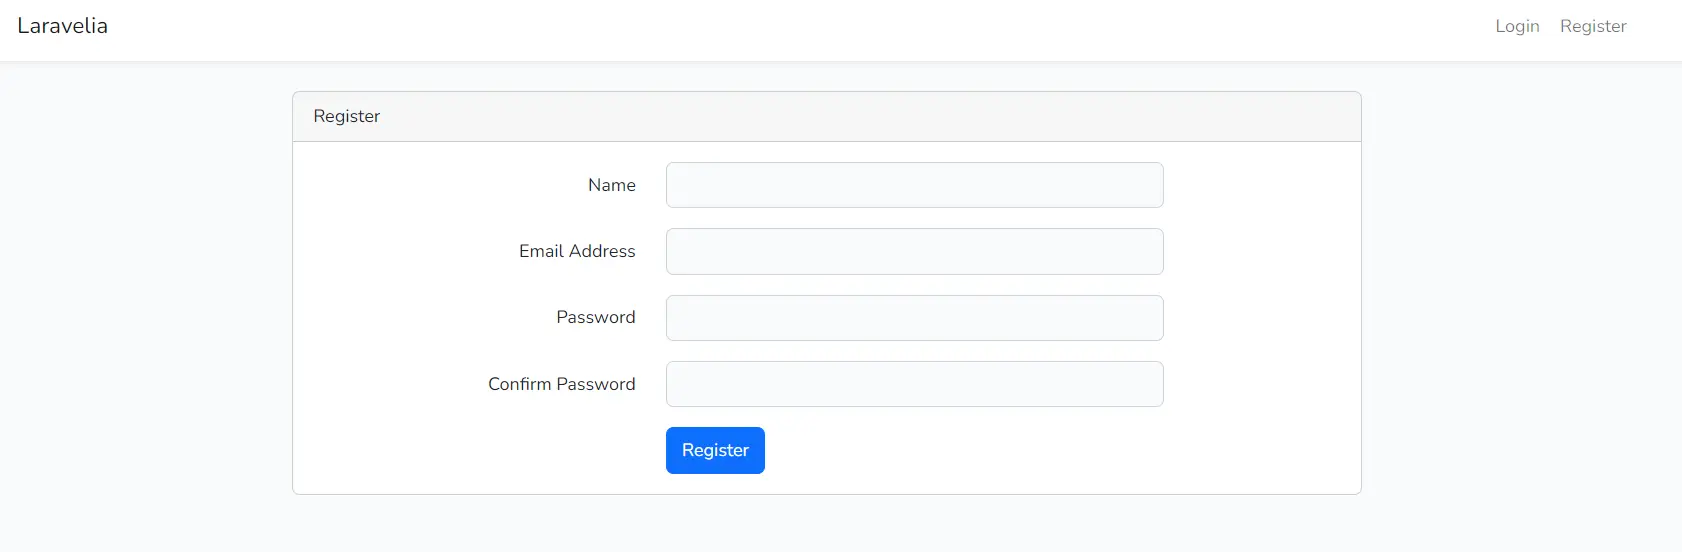
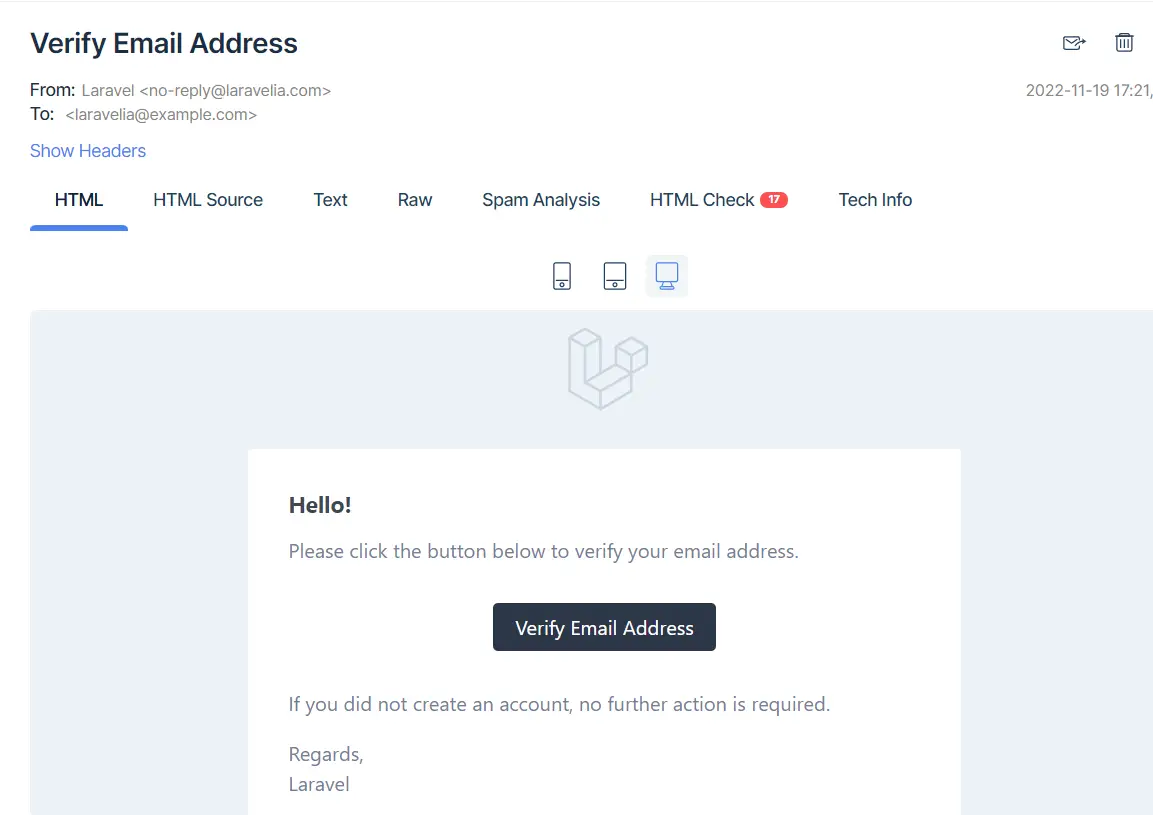
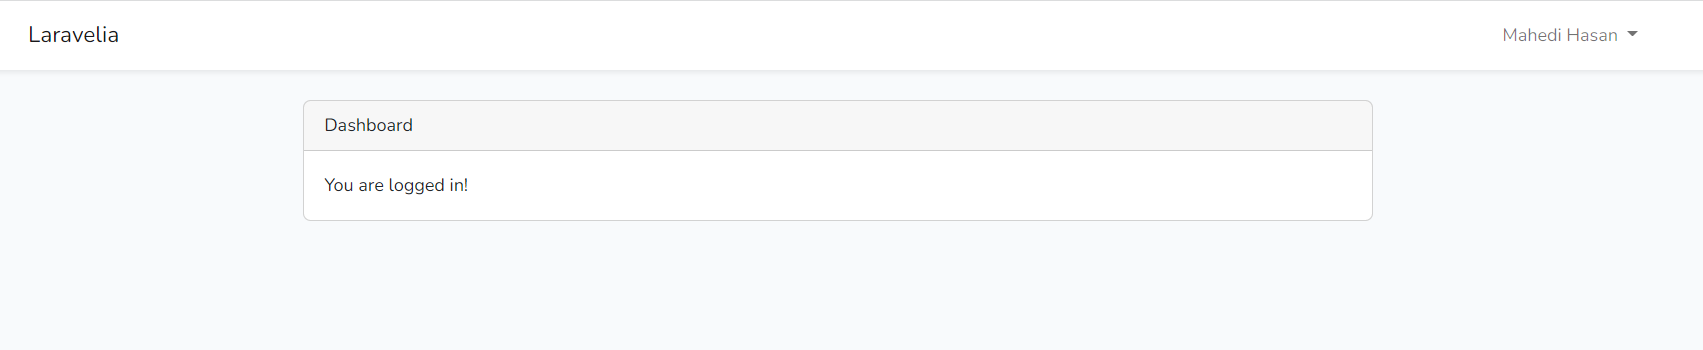
In this laravel 9 email verification tutorial, first, we will register user then we will send activation link with email then login. So see the preview from the below images:
Register page
Email verification notify page

Email template with activation code
Dashboard page
Step 1: Install Laravel
First of all, we need to get a fresh Laravel 9 version application using the bellow command, So open your terminal OR command prompt and run the bellow command to start laravel 9 email verification with activation code.
composer create-project laravel/laravel example-app
Read also: Laravel Passwordless Login | Login With Username In Laravel
Step 2: Connect Database
We need registration, so need database table to save user data. We will open the ".env" file and change the database name, username and password in the env file and create laravel auth with email verification.
.env
DB_CONNECTION=mysql
DB_HOST=127.0.0.1
DB_PORT=3306
DB_DATABASE=Enter_Your_Database_Name
DB_USERNAME=Enter_Your_Database_Username
DB_PASSWORD=Enter_Your_Database_Password
Step 3: Update User Model
Now update the user model by replacing it with the below code. Here we need to implement s MustVerifyEmail contract.
app/Models/User.php
<?php

namespace App\Models;

use Illuminate\Contracts\Auth\MustVerifyEmail;
use Illuminate\Database\Eloquent\Factories\HasFactory;
use Illuminate\Foundation\Auth\User as Authenticatable;
use Illuminate\Notifications\Notifiable;
use Laravel\Sanctum\HasApiTokens;

class User extends Authenticatable implements MustVerifyEmail
{
    use HasApiTokens, HasFactory, Notifiable;

    /**
     * The attributes that are mass assignable.
     *
     * @var array<int, string>
     */
    protected $fillable = [
        'name',
        'email',
        'password',
    ];

    /**
     * The attributes that should be hidden for serialization.
     *
     * @var array<int, string>
     */
    protected $hidden = [
        'password',
        'remember_token',
    ];

    /**
     * The attributes that should be cast.
     *
     * @var array<string, string>
     */
    protected $casts = [
        'email_verified_at' => 'datetime',
    ];
}
Now you have to run this migration by following the command:
php artisan migrate
Read also: Laravel 9 Google Two Factor (2FA) Authentication Tutorial
Step 4: Create Auth Scaffold
Here, we will use laravel ui package and create auth scaffold with the bootstrap framework. let's follow bellow command:
composer require laravel/ui
Now create a simple bootstrap auth system:
php artisan ui bootstrap --auth
And run npm i and npm run dev to compile javascript assets.
Step 5: Create Route
Here, we need to add one more route for the admin user home page so let's add that route in the web.php file.
routes/web.php
<?php

use Illuminate\Support\Facades\Auth;
use Illuminate\Support\Facades\Route;
use App\Http\Controllers\HomeController;

/*
|--------------------------------------------------------------------------
| Web Routes
|--------------------------------------------------------------------------
|
| Here is where you can register web routes for your application. These
| routes are loaded by the RouteServiceProvider within a group which
| contains the "web" middleware group. Now create something great!
|
*/

Route::get('/', function () {
    return view('welcome');
});

Auth::routes(['verify' => true]);

Route::get('/home', [HomeController::class, 'index'])->name('home');
Step 6: Update Controller
Now we need to update our home controller by adding the verified and auth middlewares:
app/Http/Controllers/HomeController.php
<?php

namespace App\Http\Controllers;

use Illuminate\Http\Request;

class HomeController extends Controller
{
    public function __construct()
    {
        $this->middleware(['auth','verified']);
    }

    public function index()
    {
        return view('home');
    }
}
Ok, now we are ready to go and test laravel 9 auth email verification example tutorial. So let's run the project using this command:
php artisan serve
Now you can test our application by visiting the below URL:
URL
Read also: Laravel 9 Firebase Phone Number (OTP) Authentication Tutorial
Conclusion
Now we know email verification laravel 9 implementation. Hope this laravel 9 email verification tutorial tutorial will help you to create laravel auth with email verification.