
Instamojo payment gateway works almost like PayPal. They receive payment from their website and then redirect users to the client's website. In this tutorial, we will see Instamojo php laravel 10 integration from scratch.
I will use Instamojo php version 0.4 to create this laravel 10 Instamojo payment gateway integration. So let's see How to integrate the Instamojo payment gateway in laravel 10.
Step 1: Install Laravel 10
First of all, we need to get a fresh Laravel 10 version application using the bellow command, So open your terminal OR command prompt and run the bellow command to start instamojo php laravel integration tutorial
composer create-project laravel/laravel example-app
Step 2: Install Package
Now we have to install instamojo/instamojo-php package. Open composer.json file and update it like the below:
"require": {
  "instamojo/instamojo-php": "^0.4"
},
Now run the composer update command to install it in our system.
Step 3: Create Instamojo Account
Now we have to create a test Instamojo account. So create a instamojo account and put the client secret and client token in your.env file like that:
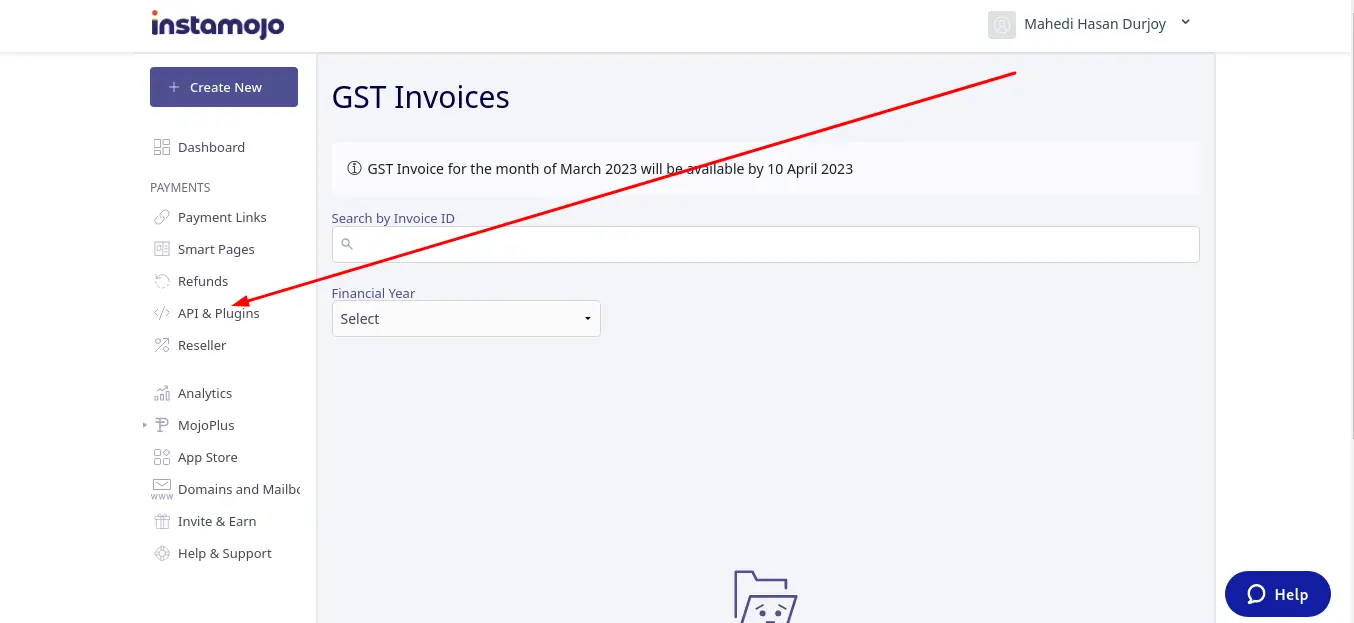 Now get the authentication token and follow this below image to understand:
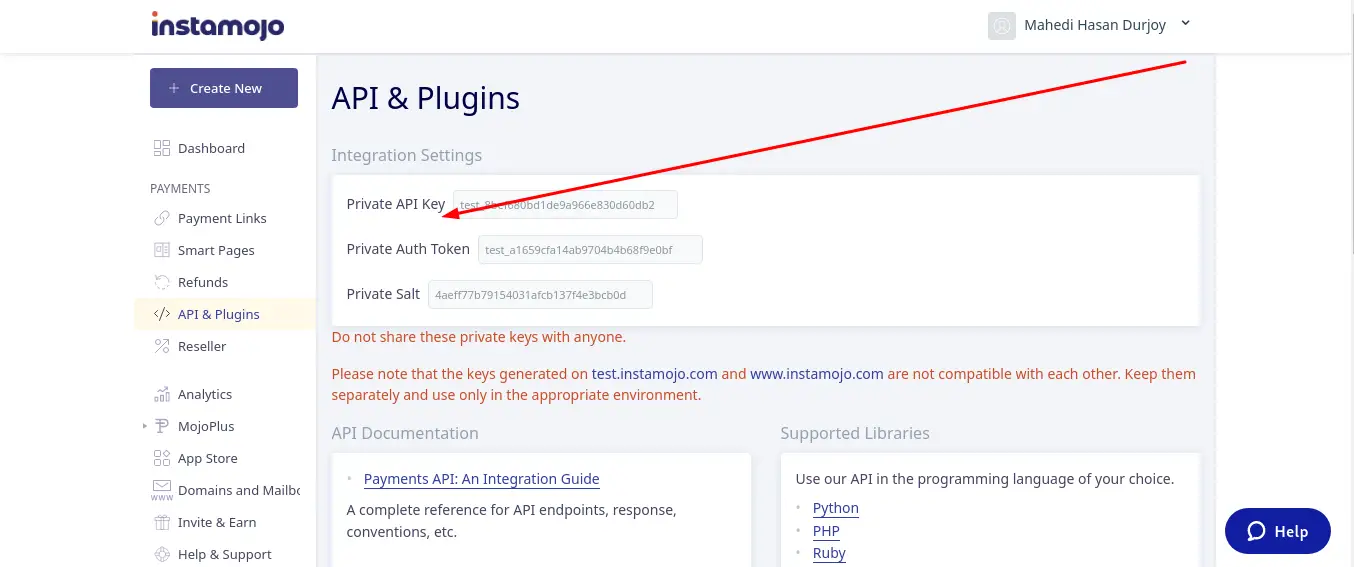
Now update the .env like this:
.env
INSTAMOJO_API_KEY=
INSTAMOJO_AUTH_TOKEN=
INSTAMOJO_URL="https://test.instamojo.com/api/1.1/"
Step 4: Create Route
Here, we need to add two routes to display the payment form and another is to store the payment with Instamojo.
routes/web.php
<?php

use Illuminate\Support\Facades\Route;
use App\Http\Controllers\InstamojoController;

Route::name('instamojo.')
    ->controller(InstamojoController::class)
    ->prefix('instamojo')
    ->group(function () {
        Route::view('payment', 'instamojo.index')->name('create.payment');
        Route::get('handle-payment', 'handlePayment')->name('make.payment');
        Route::get('success-payment', 'successPayment')->name('success.payment');
    });
Step 5: Create Controller
Here, now we have to create an InstamojoController to process our payment. So create it and update it like below:
app/Http/Controllers/InstamojoController.php
<?php
namespace App\Http\Controllers;
use Exception;
use Illuminate\Http\Request;
class InstamojoController extends Controller
{
public function handlePayment(Request $request)
{
$api = new \Instamojo\Instamojo(
env('INSTAMOJO_API_KEY'),
env('INSTAMOJO_AUTH_TOKEN'),
env('INSTAMOJO_URL'),
);
try {
$response = $api->paymentRequestCreate([
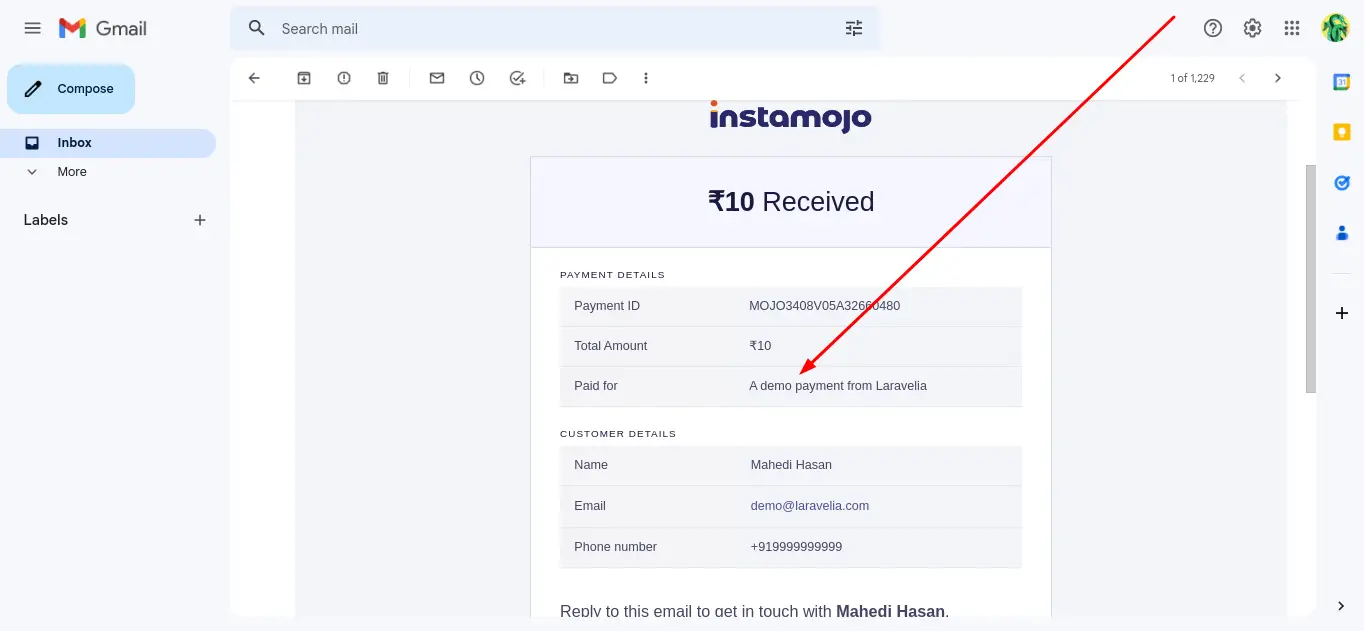
"purpose" => "A demo payment from Laravelia",
"amount" => 10,
"buyer_name" => "Mahedi Hasan",
"send_email" => true,
'send_sms' => true,
"email" => "demo@laravelia.com",
"phone" => "9999999999",
"redirect_url" => route('instamojo.success.payment'),
'webhook' => 'http://www.example.com/webhook/',
]);
header('Location: ' . $response['longurl']);
exit();
} catch (Exception $e) {
throw new Exception($e->getMessage(), 1);
}
}
public function successPayment(Request $request)
{
try {
$api = new \Instamojo\Instamojo(
env('INSTAMOJO_API_KEY'),
env('INSTAMOJO_AUTH_TOKEN'),
env('INSTAMOJO_URL'),
);
$response = $api->paymentRequestStatus(
request('payment_request_id')
);
if (!isset($response['payments'][0]['status'])) {
return back()->withError('Payment failed');
}
if ($response['payments'][0]['status'] != 'Credit') {
return back()->withError('Payment failed');
}
return back()->withSuccess('Payment done');
} catch (\Exception $e) {
return back()->withError('Payment failed');
}
dd($response);
}
}
Step 6: Create Blade file
In this step, we need to create a payment blade file and update the file. so let's change it.
resources/views/instamojo/index.blade.php
@extends('layouts.app')
@section('content')
<div class="panel panel-default">
<div class="panel-body">
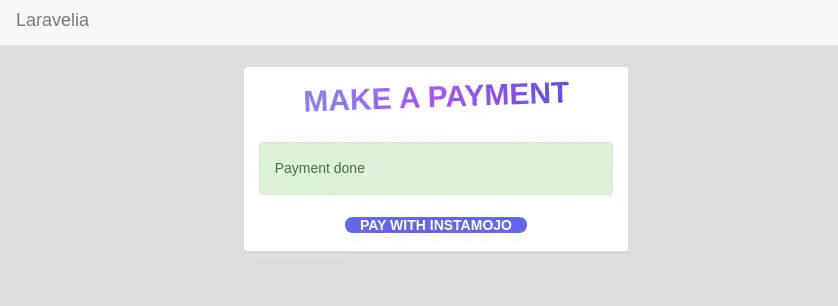
<h1 class="text-3xl md:text-5xl font-extrabold text-center uppercase mb-12 bg-gradient-to-r from-indigo-400 via-purple-500 to-indigo-600 bg-clip-text text-transparent transform -rotate-2">Make A Payment</h1>
@if (session()->has('success'))
<div class="alert alert-success">
{{ session()->get('success') }}
</div>
@endif
<center>
<a href="{{ route('instamojo.make.payment') }}" class="w-full bg-indigo-500 uppercase rounded-xl font-extrabold text-white px-6 h-8">Pay with InstaMojo</a>
</center>
</div>
</div>
@endsection
Now you can test our application by visiting the below URL: Now we will see a button like the below:
URL

Now click this payment button and you will see the payment form in the Instamojo test website like below:
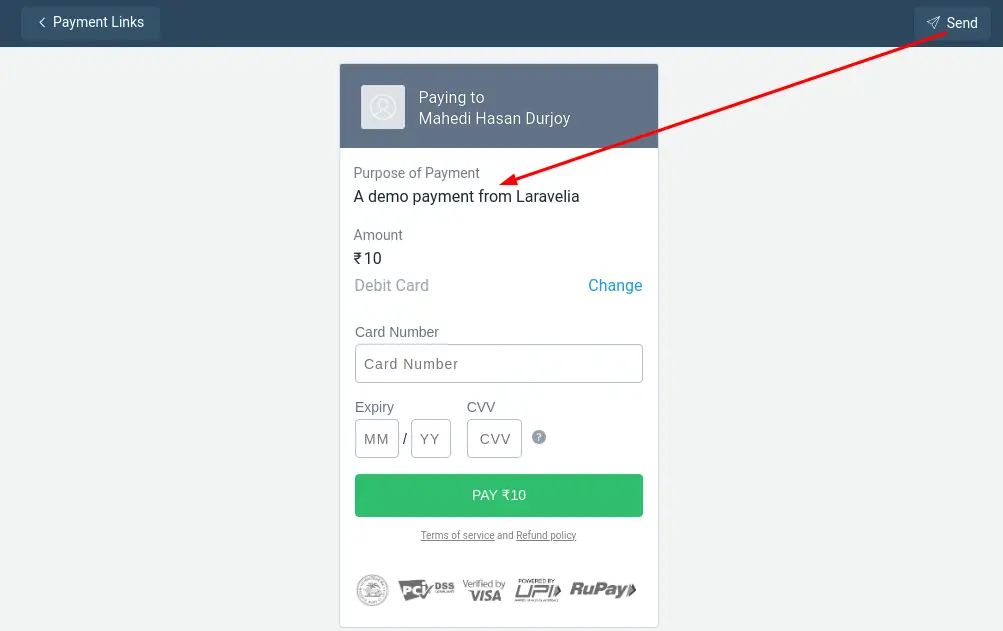
Now pay with this below demo card:
MASTERCARD -

CARD: 5214 4789 0000 5330
MM: 01
YY: 25
CVC: 123
OTP: 111111

VISA -

CARD: 4065 6200 0000 1239
MM: 01
YY: 25
CVC: 123
OTP: 111111

DEBIT CARD -

CARD: 4242 4242 4242 4242
MM: 01
YY: 25
CVC: 111
OTP: 111111
Now you will see
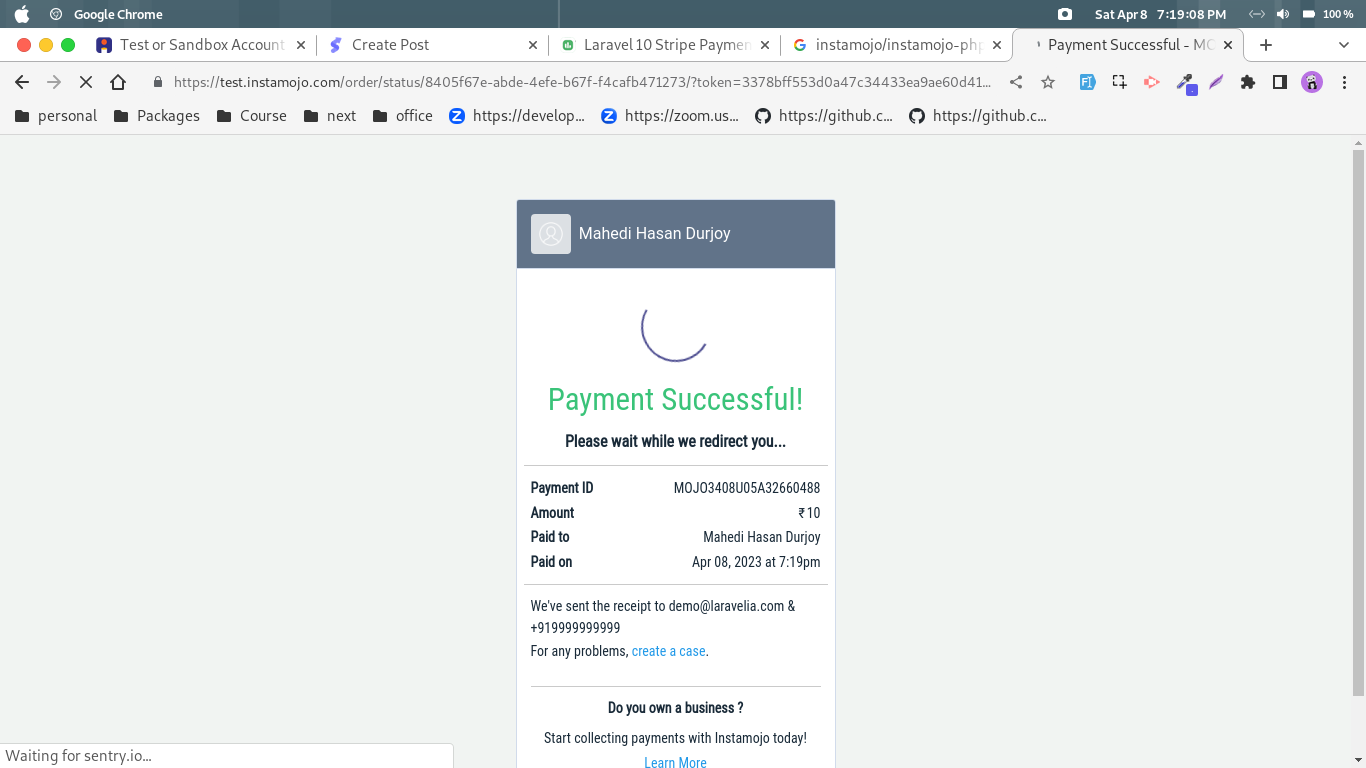 Now successfull redirection to our website
Now see the payment confirmation email:
Read also: Laravel 10 Typehead Js Live Search Tutorial
Conclusion
You know that how to integrate payment gateway in laravel. Hope after following this laravel 10 Instamojo payment gateway integration, you own now able to create this how to integrate payment gateway in laravel 10 in any php based application.